Monday 29 November 2010

MORE YEAR 11 PRINTING

Further to my previous entry regarding printing with year 9 girls (19Th November), we have now been enriching their knowledge with mixing inks and printing in colour. The girls seem to have loved the process and here are some of the results:


This is probably my favorite, showing how just two different colours can make a very big difference and brighten an image:


Well done year 11!

Sunday 28 November 2010

BOOK EXHIBITION - AYLESBURY MUSEUM


Artists at the 'Book this space' exhibition in the Buckingham County Museum in Aylesbury have been busy transforming books in one way or another: some books have been cut, some have been folded, some have been painted or printed on to form a piece of art. The books were going to be thrown away and discarded, but with the help of the exhibition organiser, Heather Hunter, they have been given a new lease of life and given the chance to once again entertain us.

Here are a few example of what is on show, but their are many more so you will have to go to Aylesbury to discover these hidden jewels:


Pat Rozental


Jayne Wilton


Pamela Wood


June Kingsbury


The exhibition will finish on 26 February 2011, there is therefore no excuses to miss it as per details below:

From Monday 29 Nov 2010 to 26 February 2011
Buckinghamshire County Museum
Church Street, Aylesbury, HP20 2QP

From 1 Nov – 26 Feb open Mon – Sat 10am – 4pm

Closed 25, 26, 27, 28 Dec 2010 & 3 Jan 2011

Saturday 27 November 2010

SHOULD HAVE BEEN A PHOTOGRAPHER....

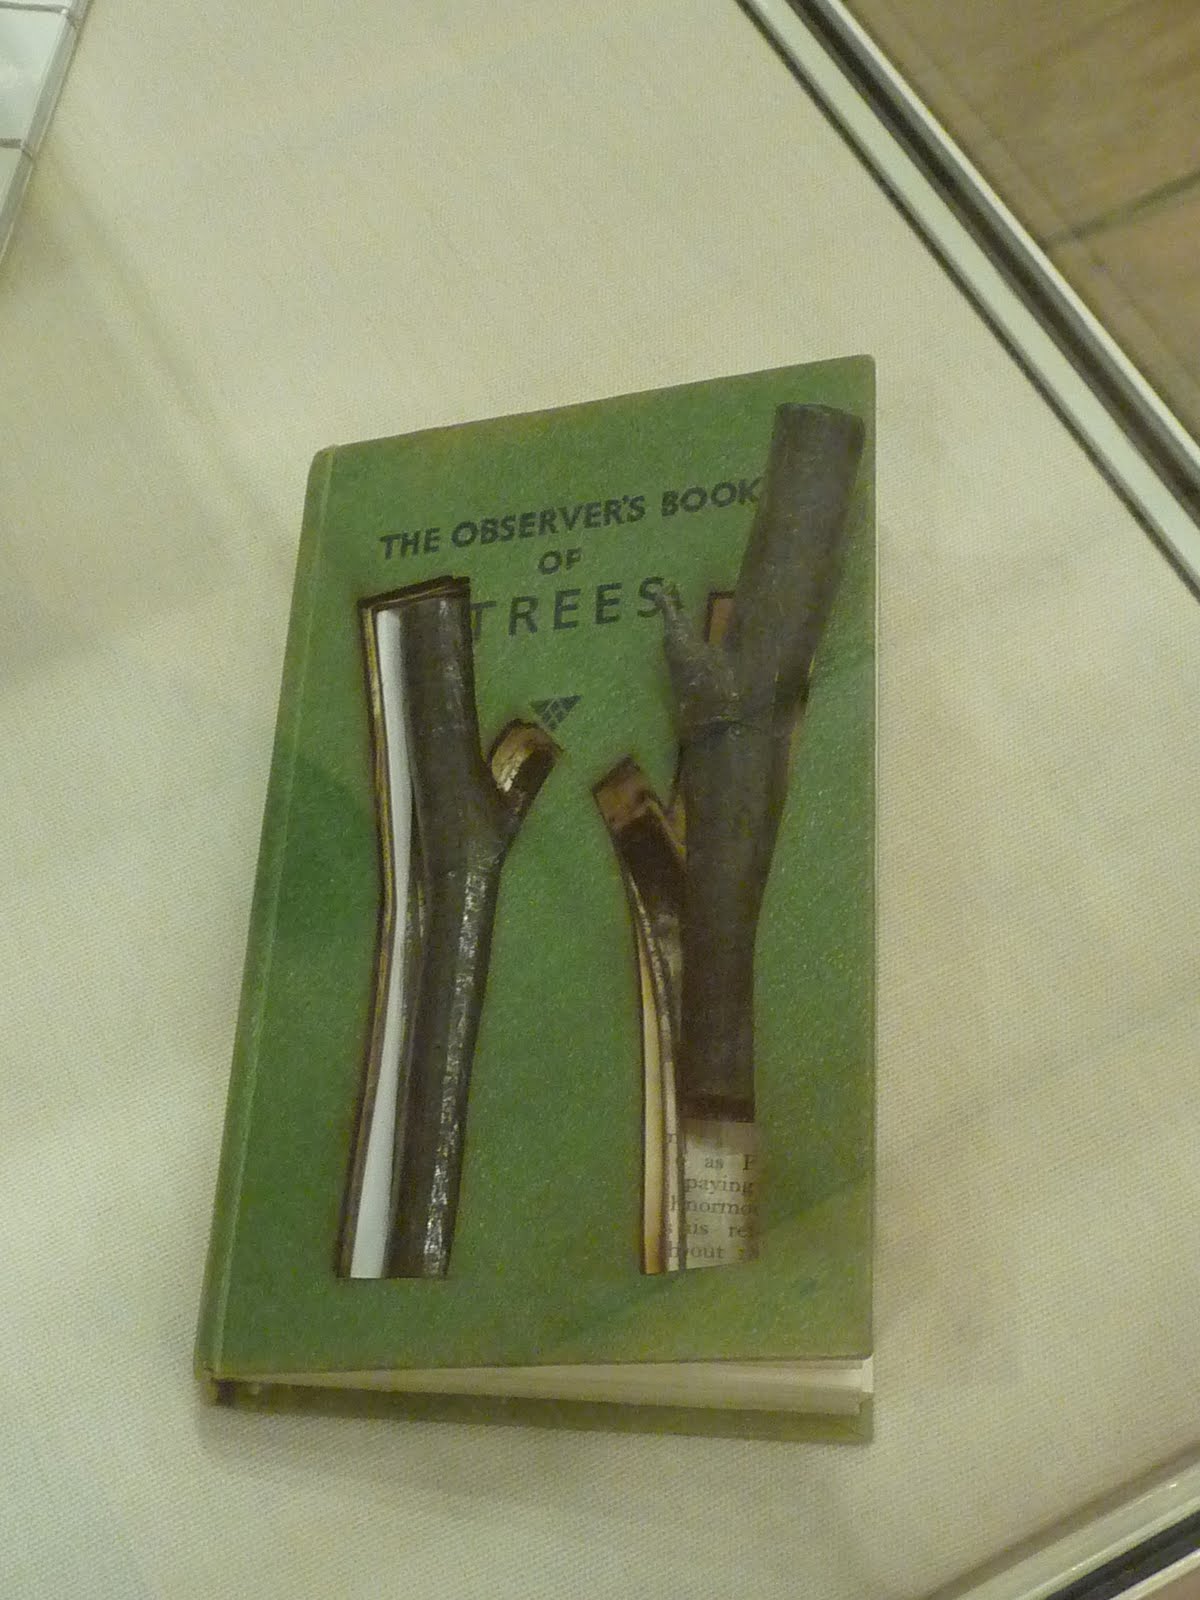
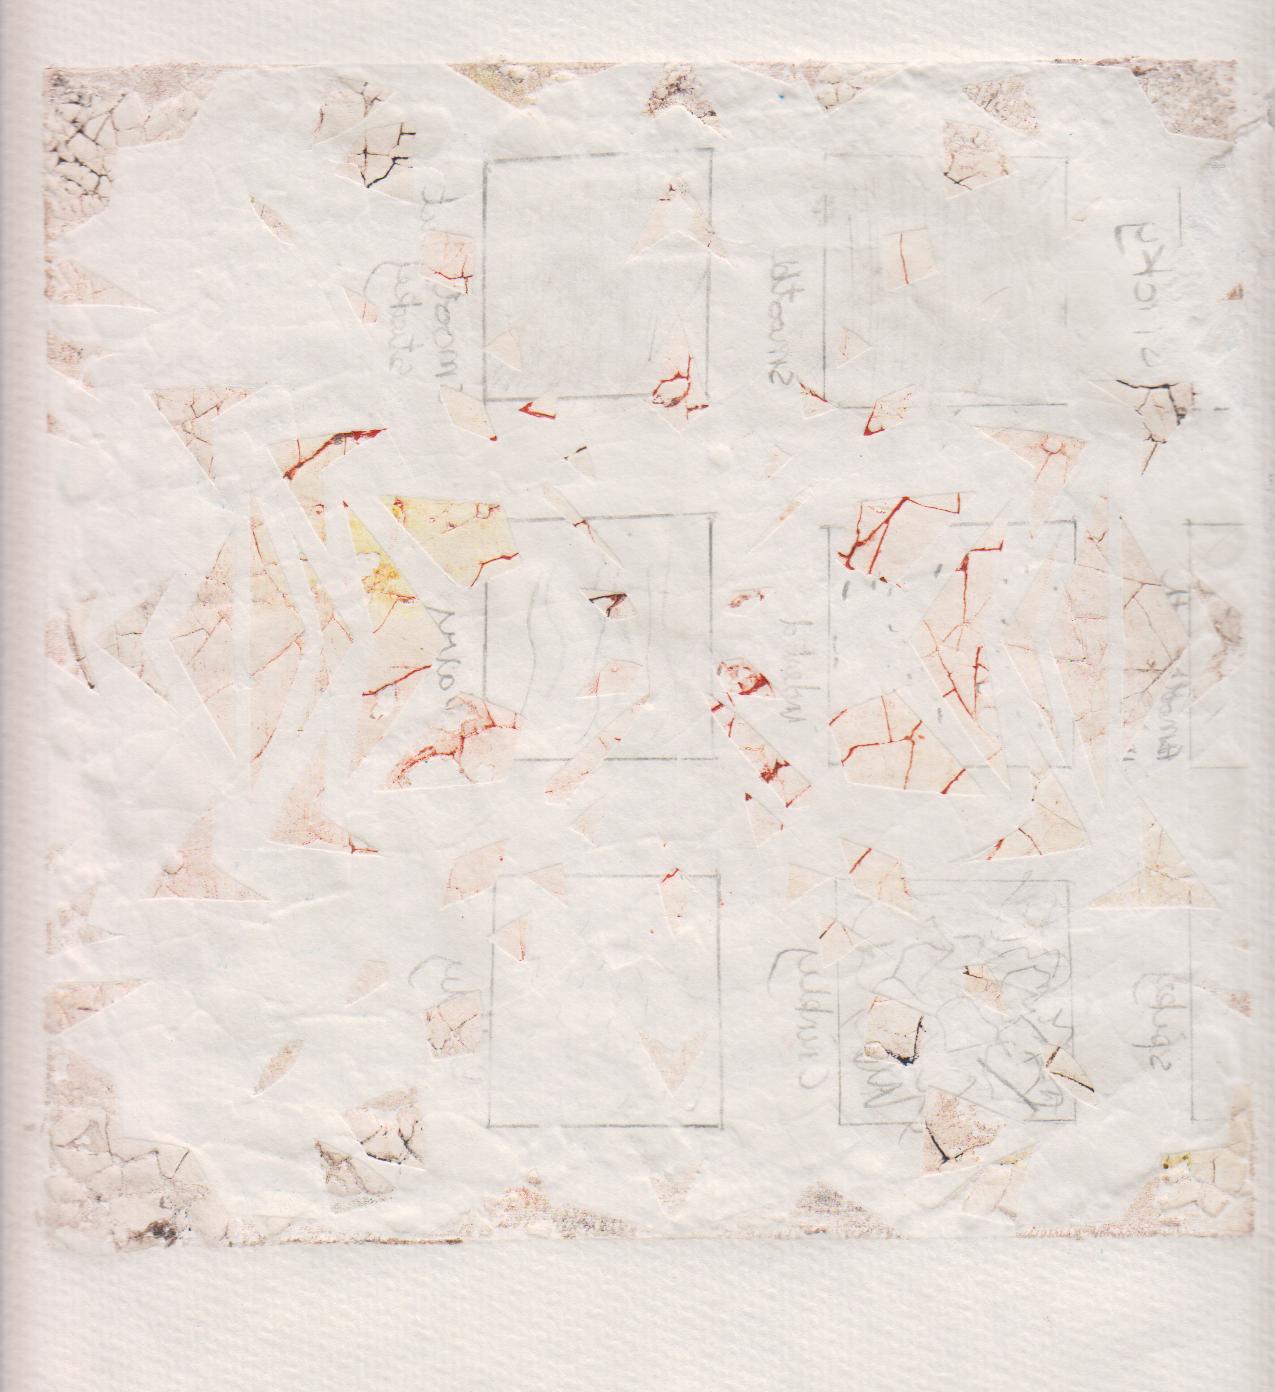
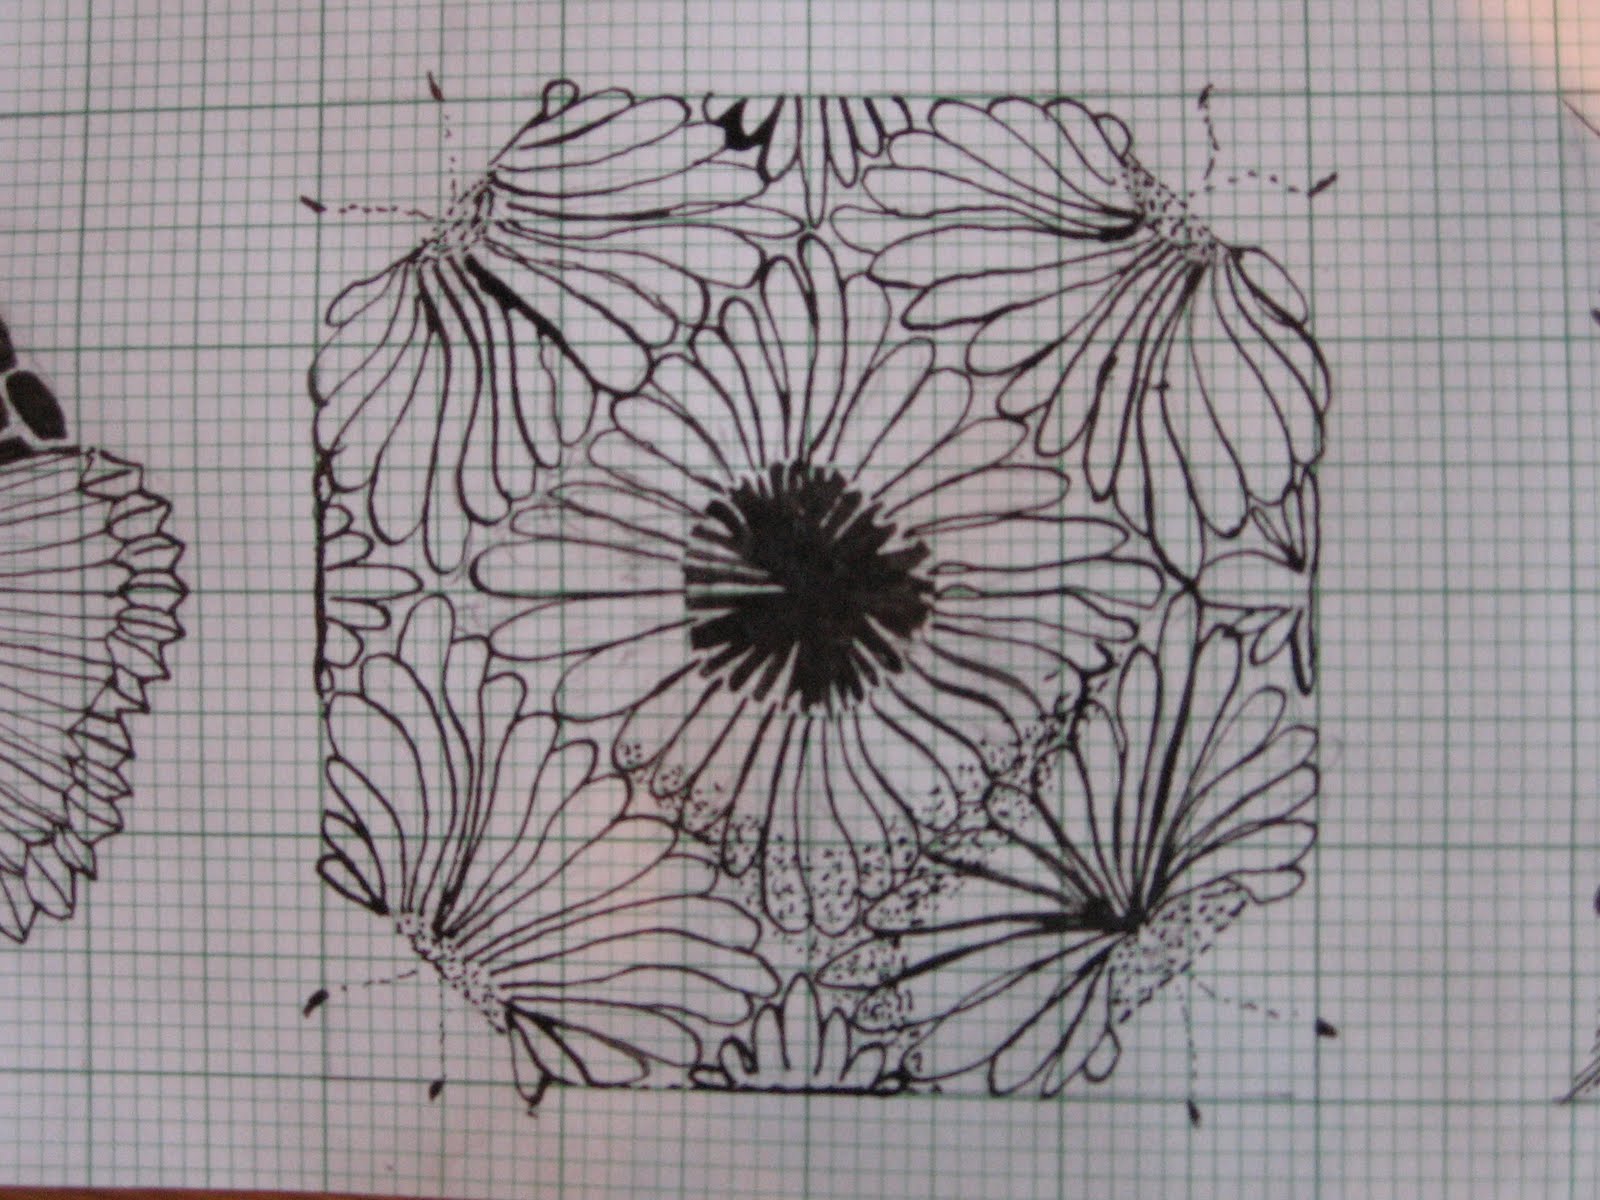
This week, I have been working on more drawings, trying to illustrate the school in some way. I am still working on a format of 8x8cm on graph paper, inspired by the carvings on the chapel pews:


I have settled one using the name of the school's Houses and with the help of Jenny, the library's archivist, I am trying to find out were the names came from. There are twenty two houses in the Junior/Senior school and a further four in the Prep school. Having no involvement with the Prep shcool, I have decided not to illustrate those four houses.

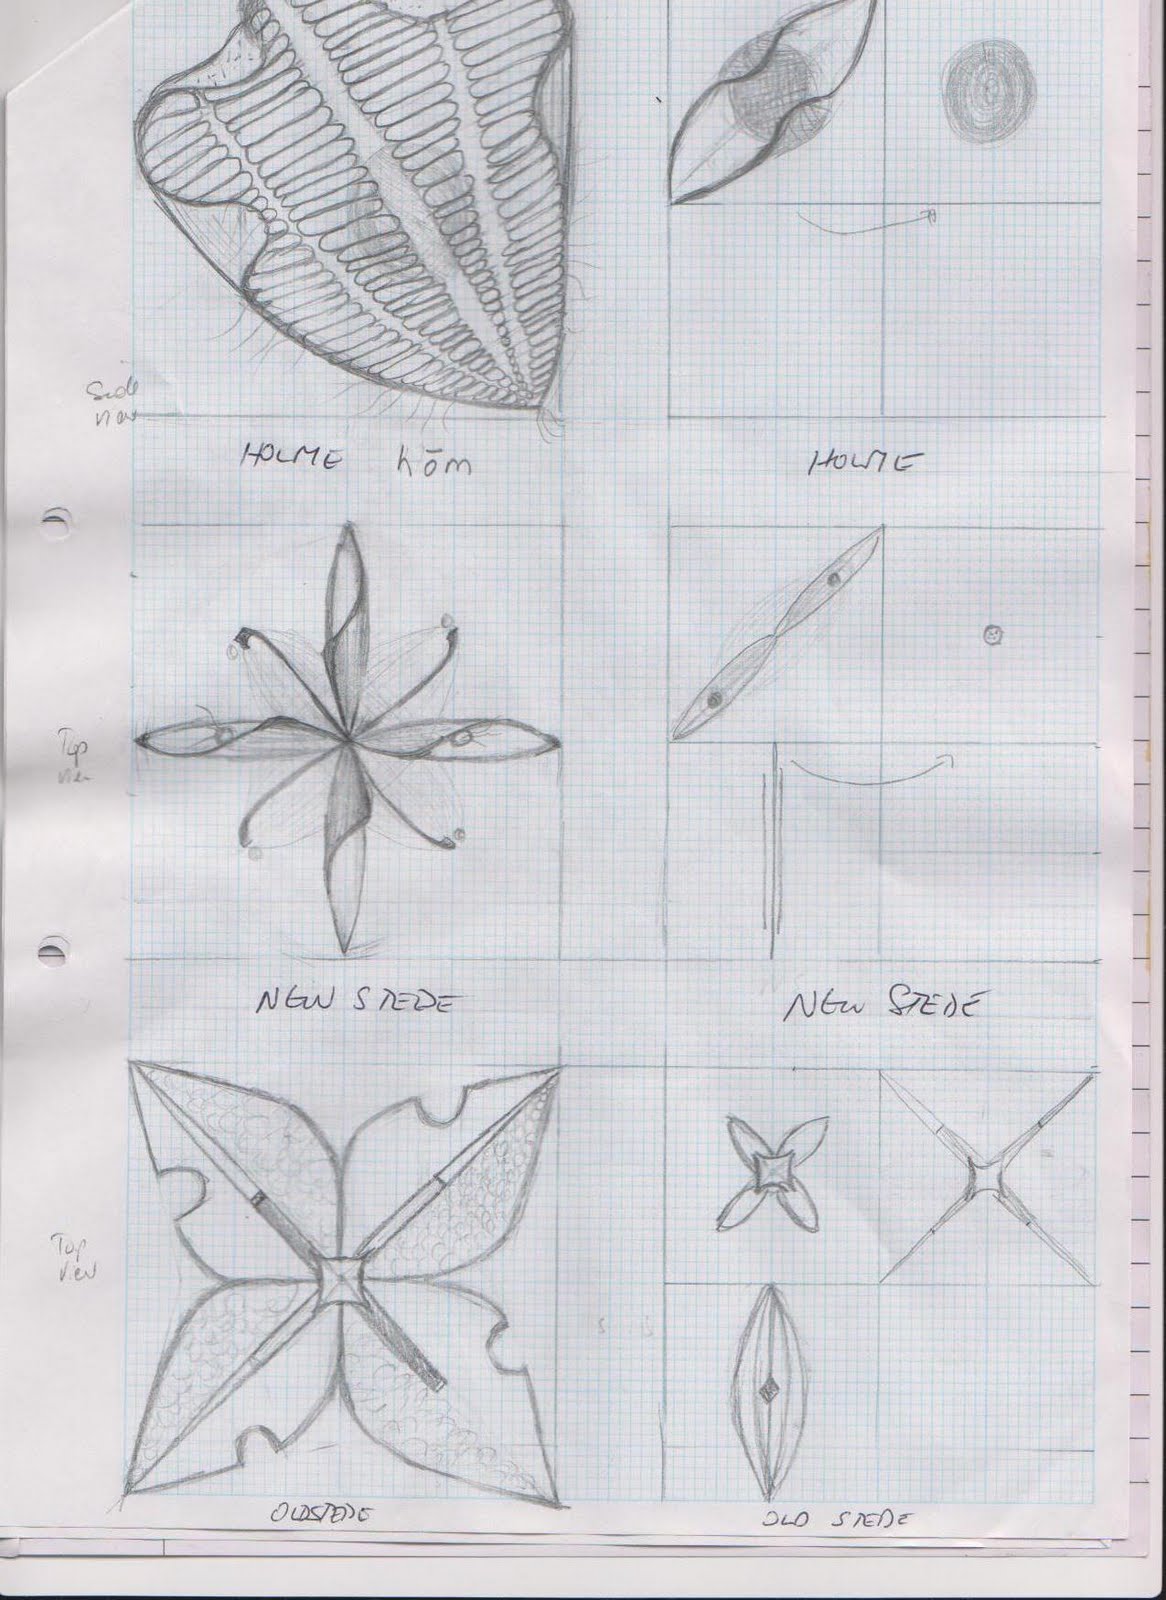
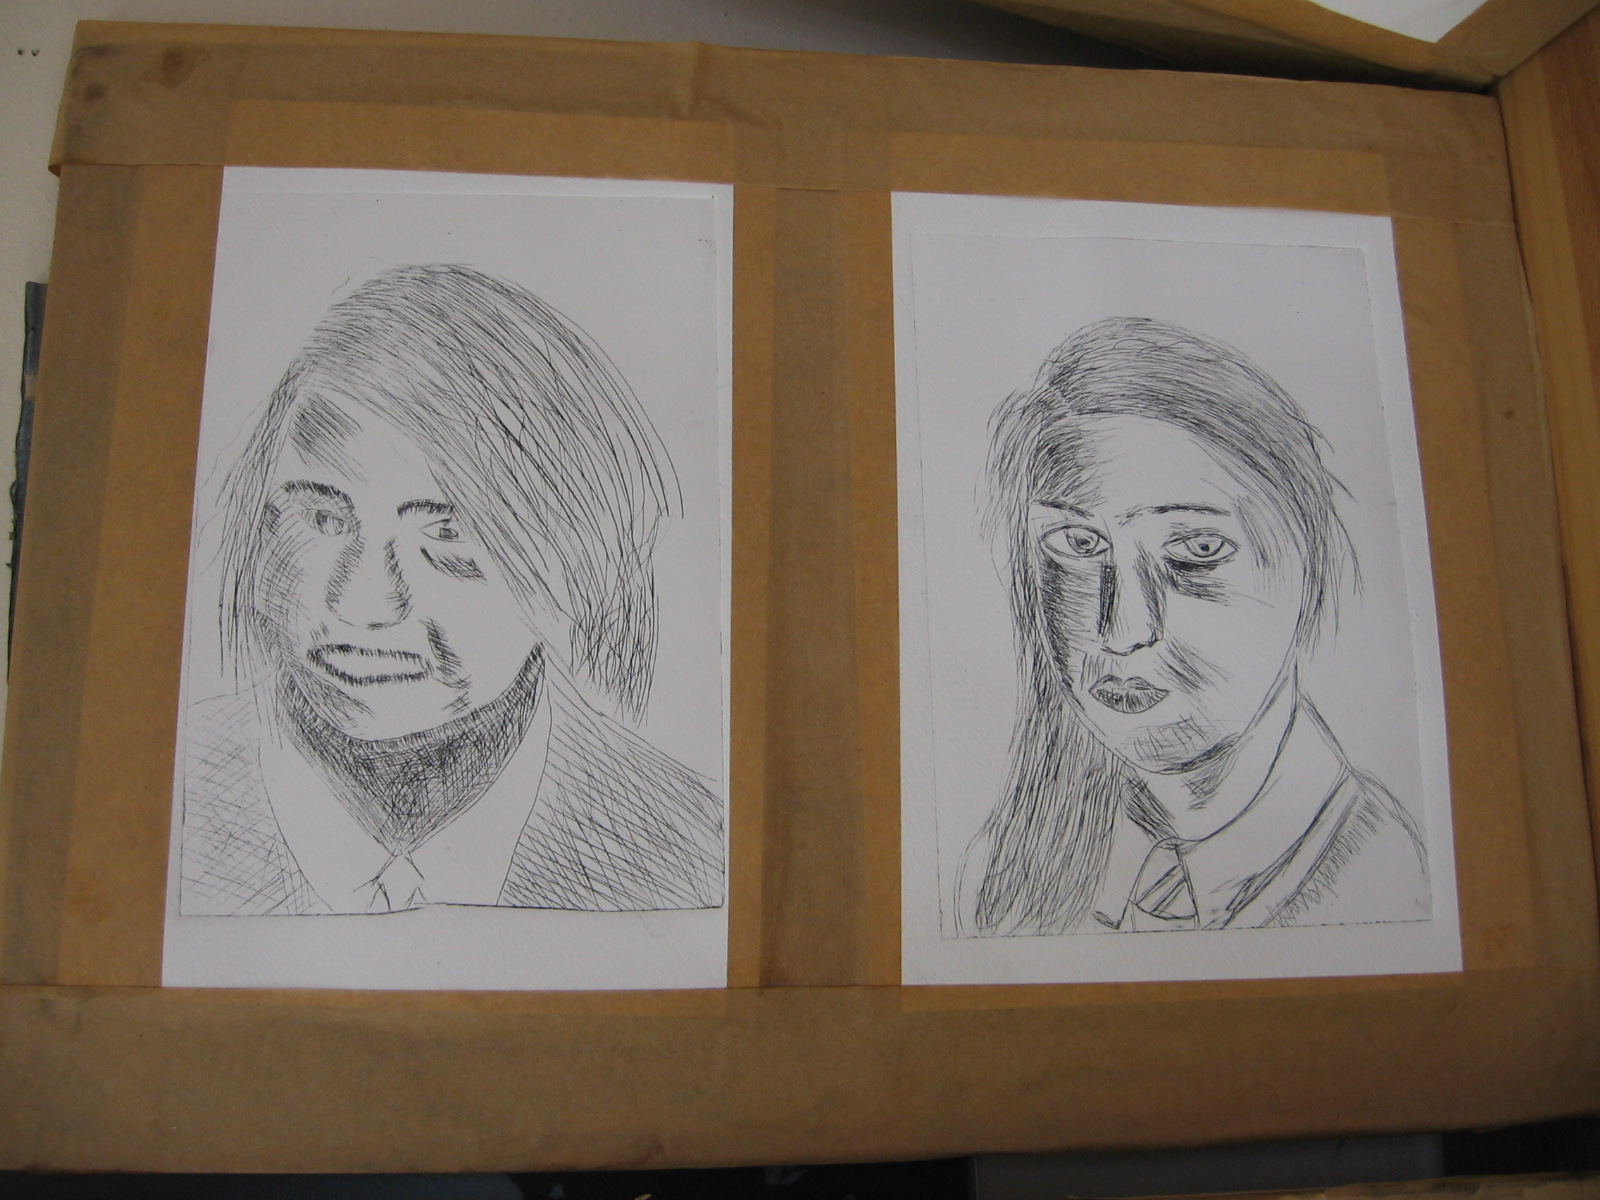
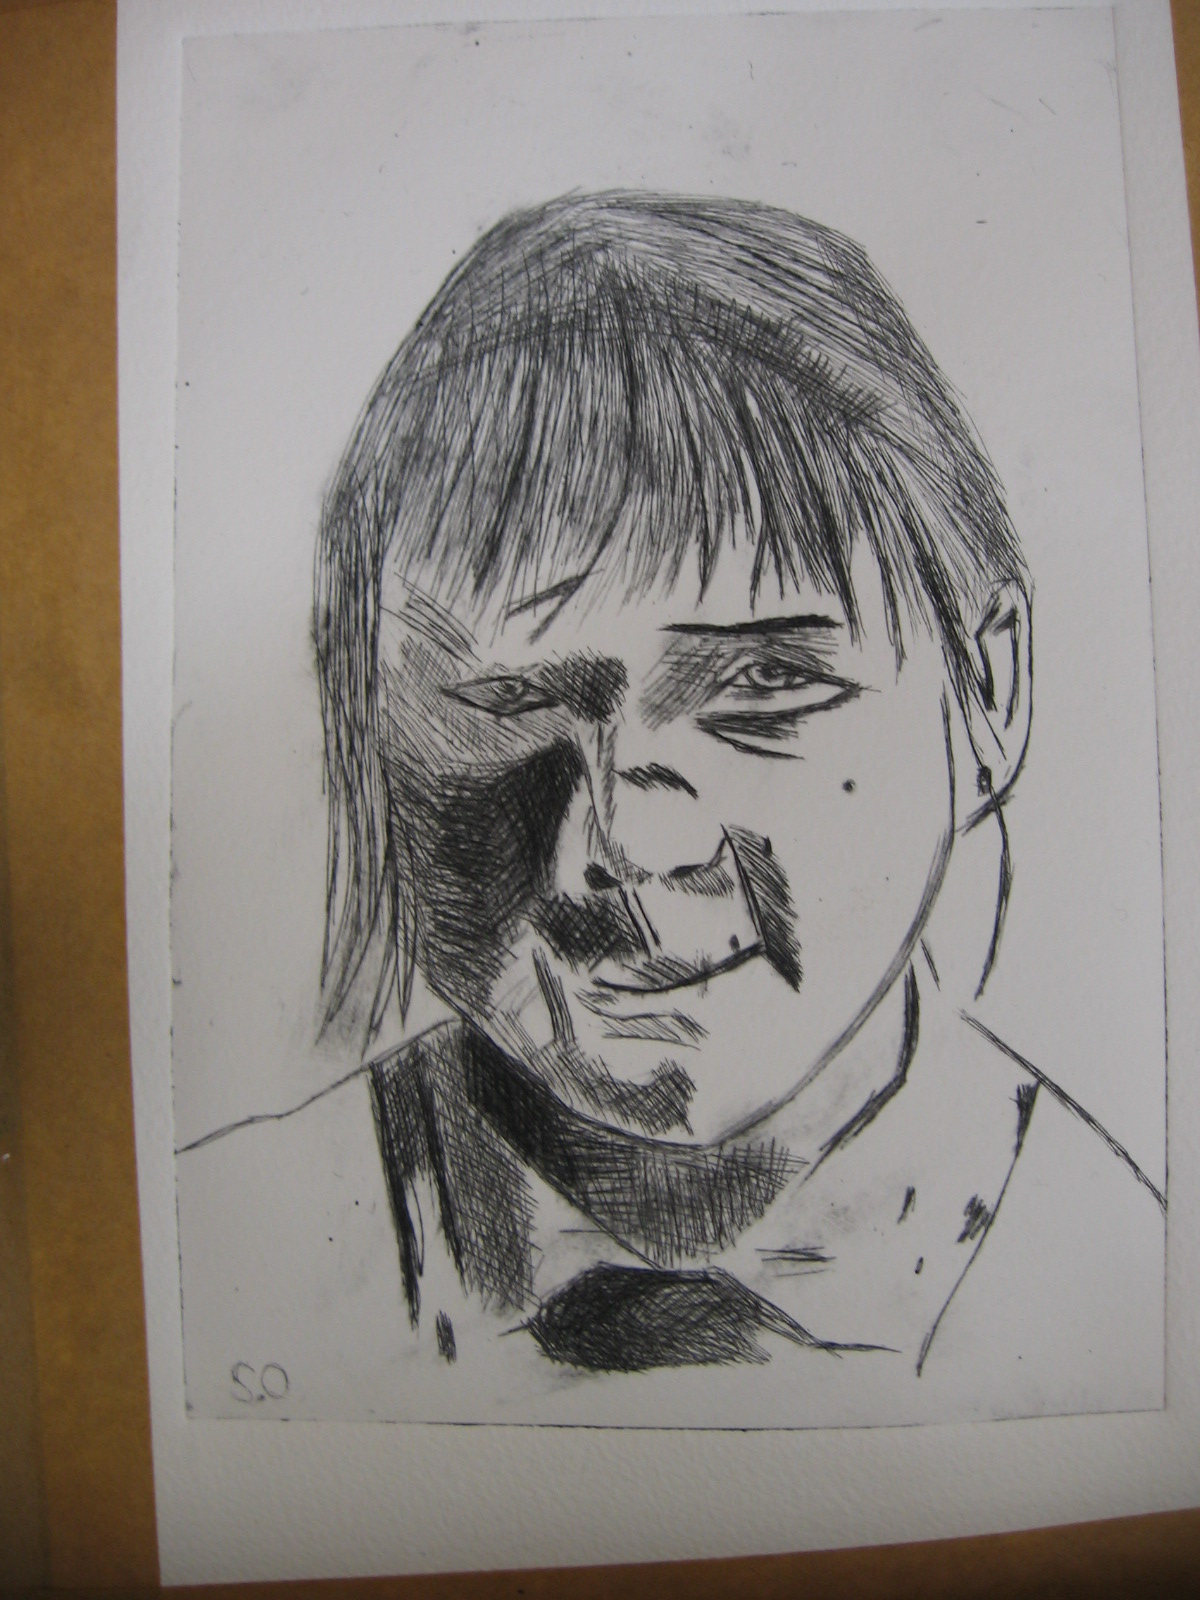
Here are a few pencil sketches:


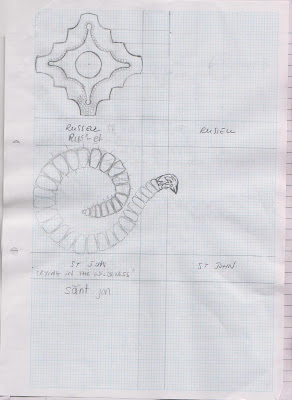
These are still likely to be transformed until they are finally inked up. They are hybrid drawings, using photos of the sites around me, maps of the school, dictionary descriptions, books and of course, my imagination. The latter allows me ample freedom.
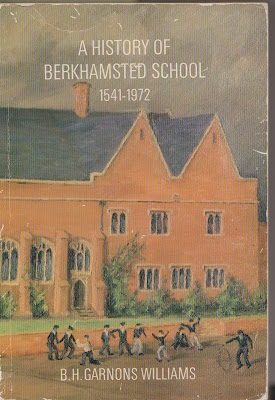
This fits very well with the history of the school, as per BH Garnons Williams's explanation of the name 'Newcorft' (for one of the new buildings inaugurated in 1958). In his book 'A History of Berkhamsted School, 1541-1972' he describes the name as a mix using the first syllable of Sir Isaac Newton's surname with the second syllable of Sir John Cockcroft's, creating the word Newcroft.


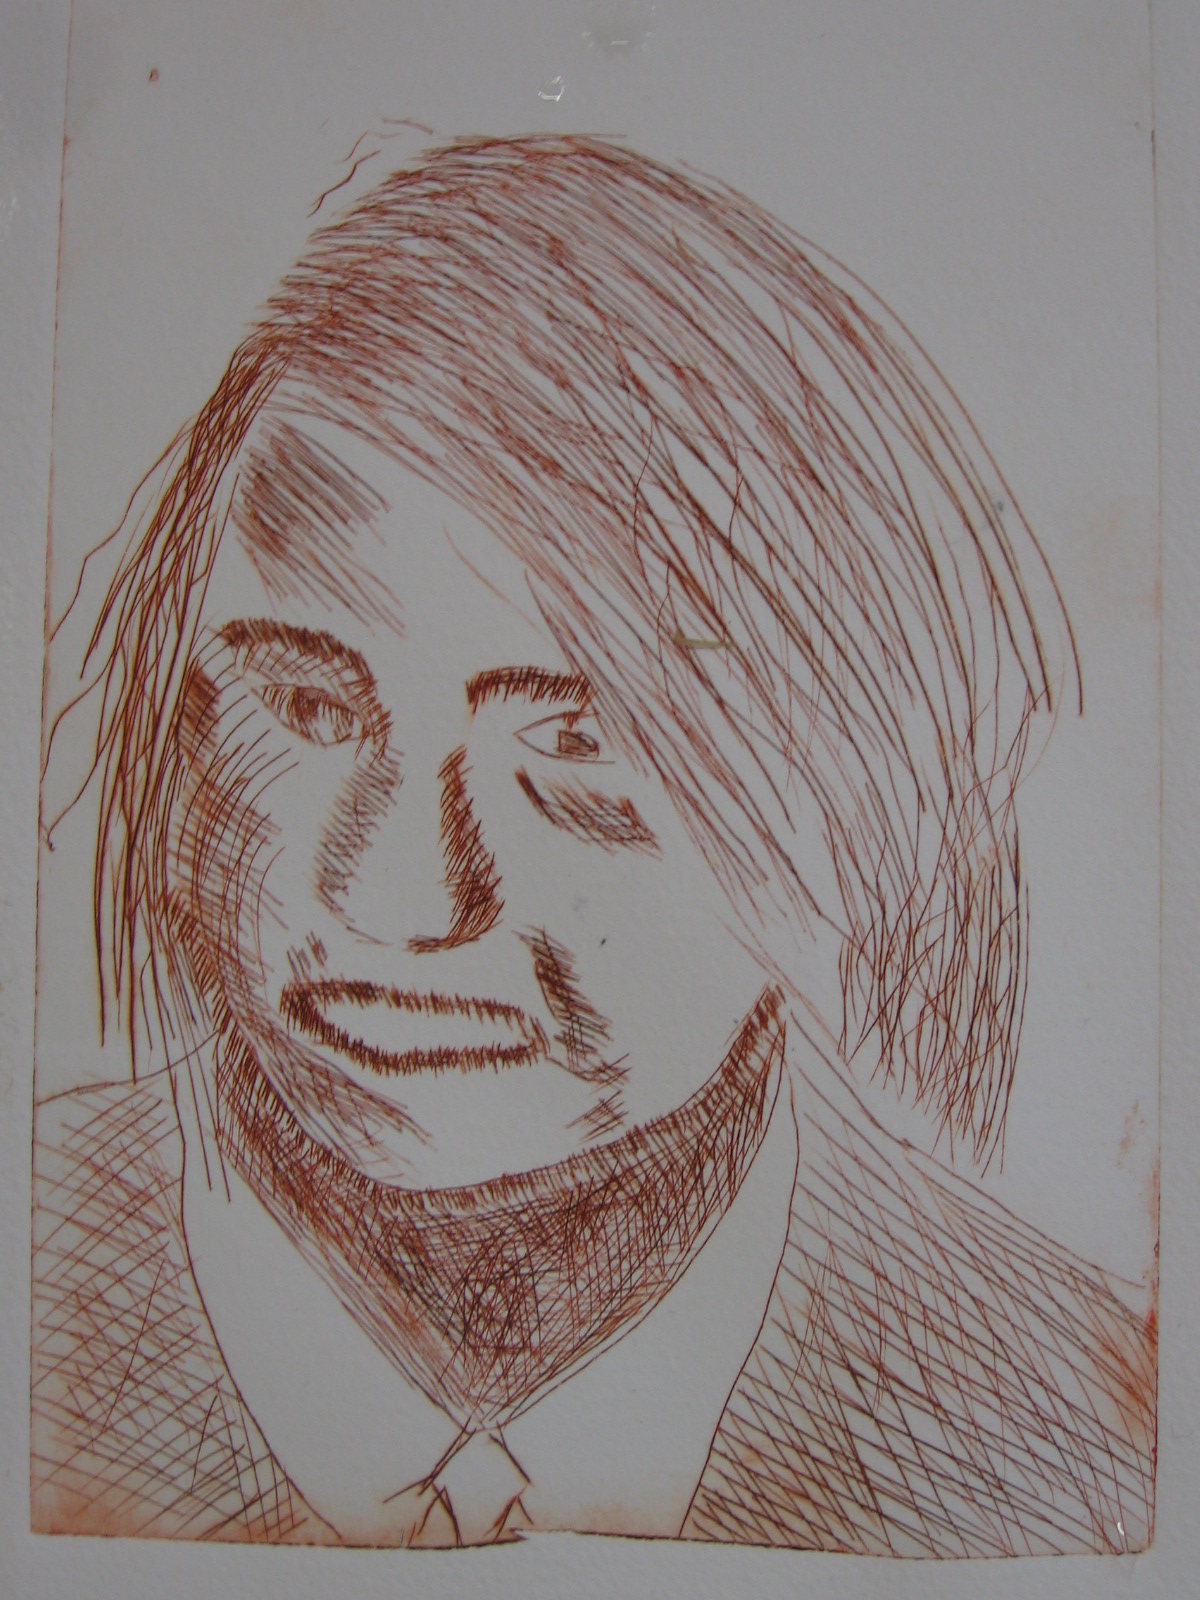
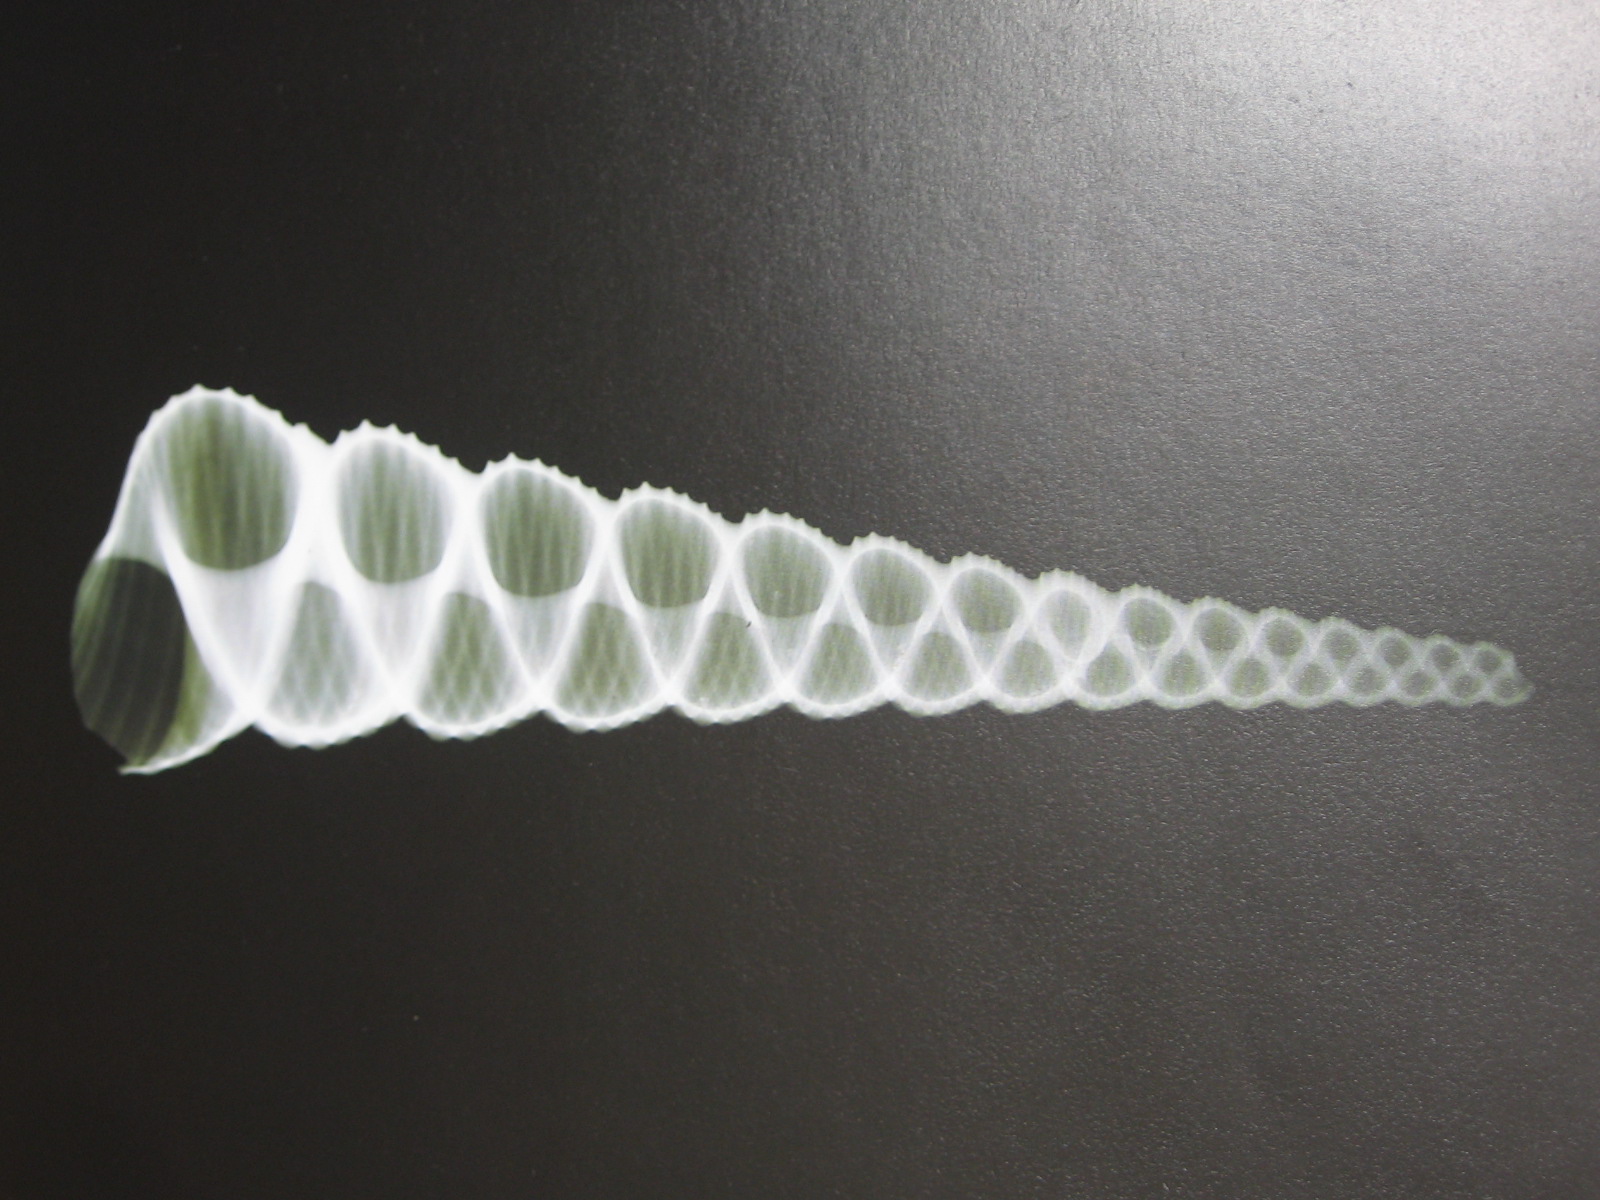
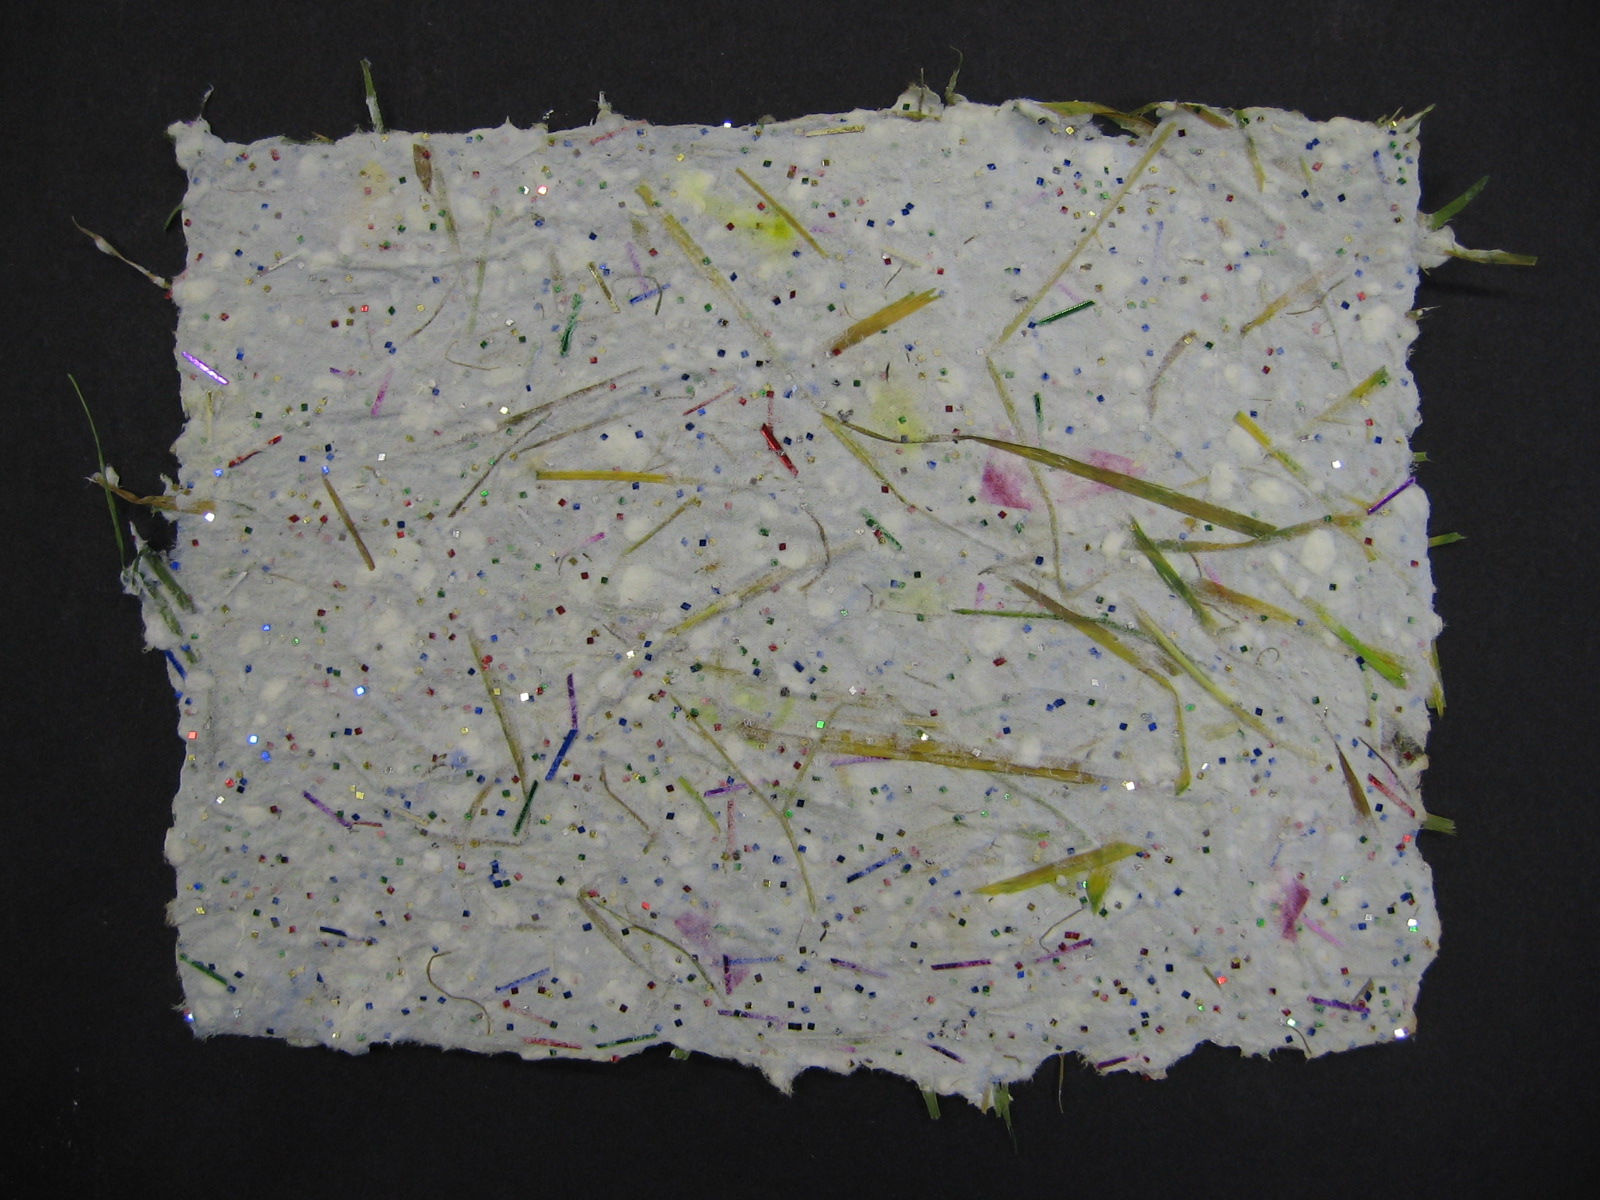
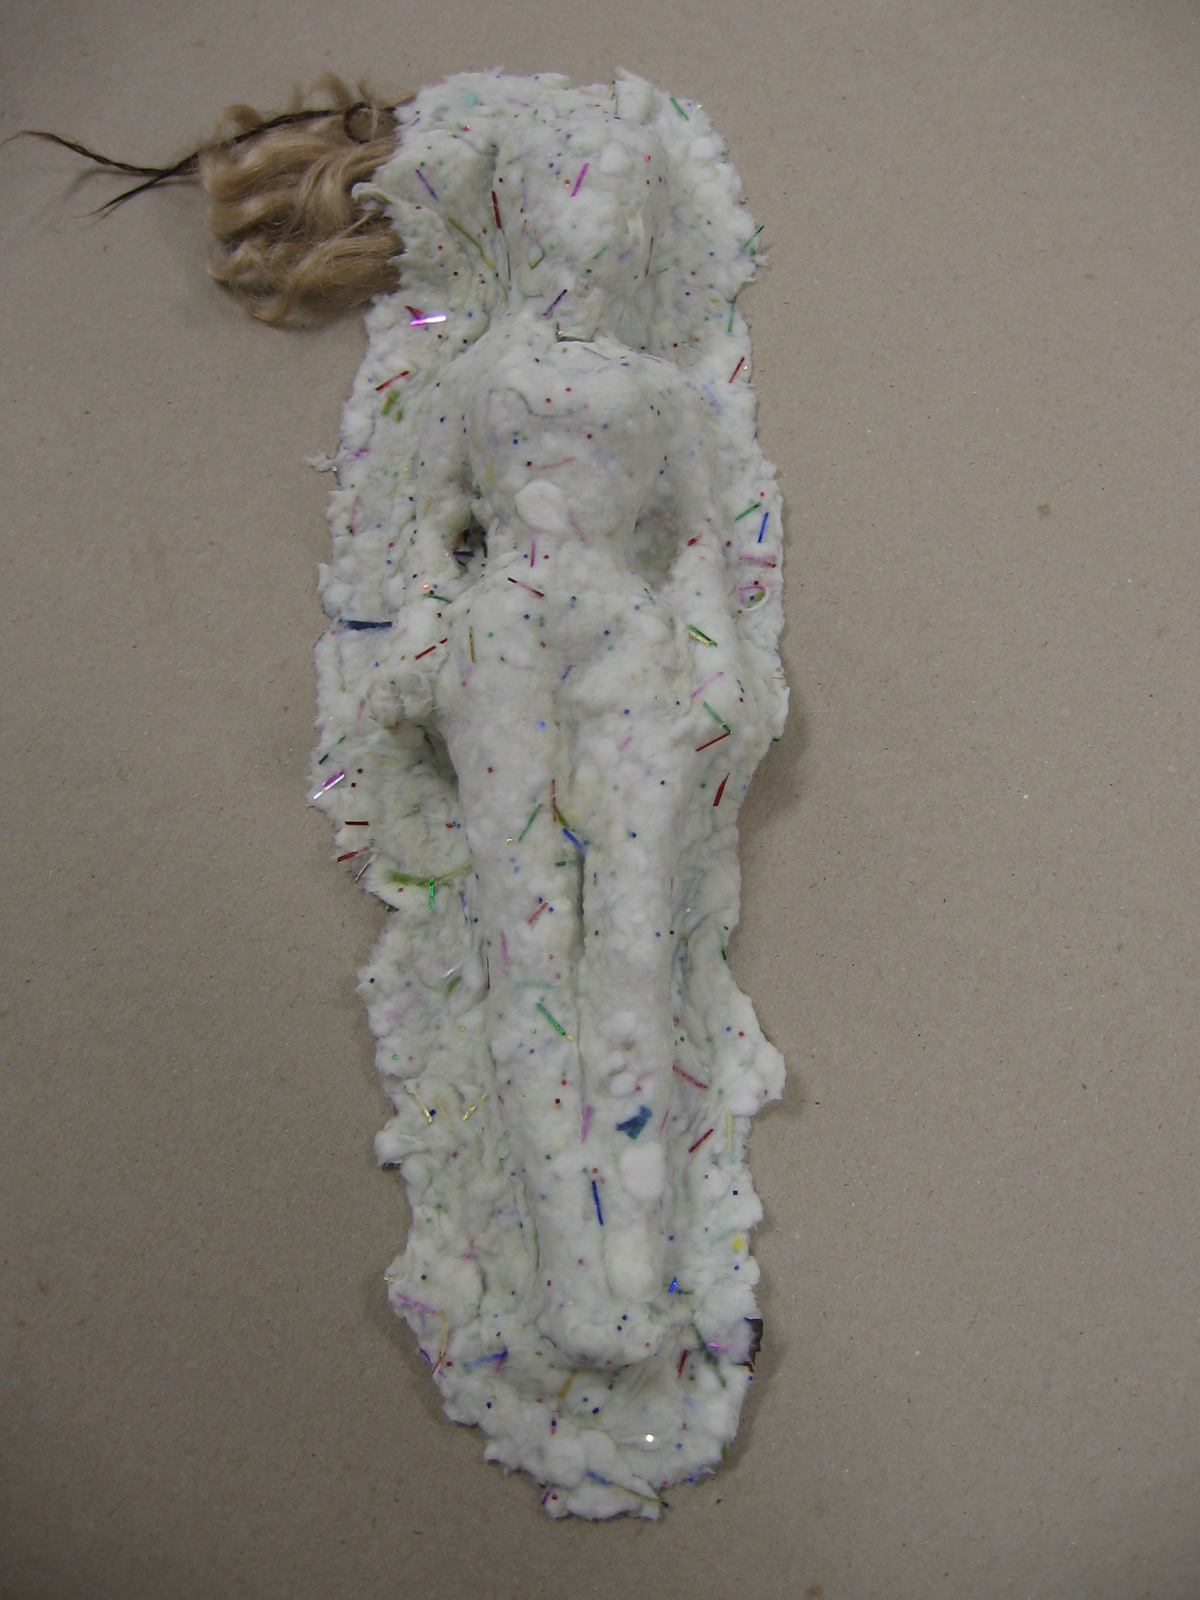
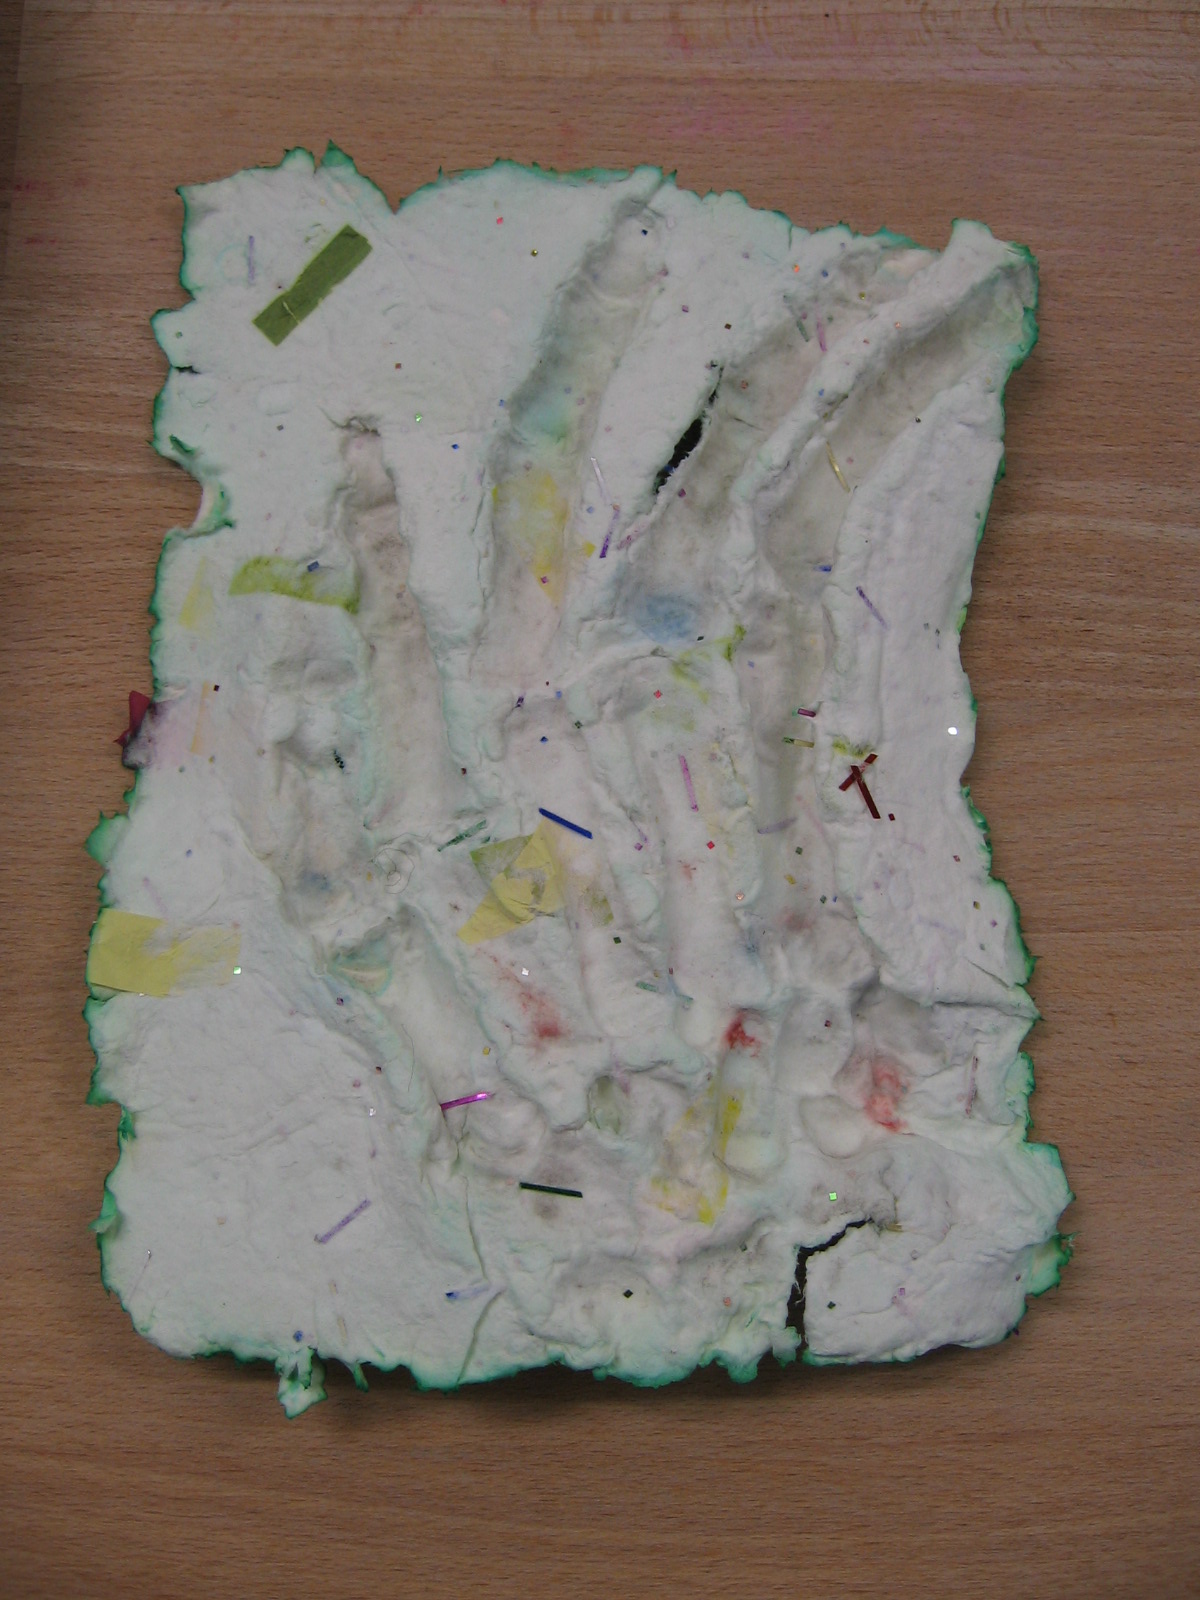
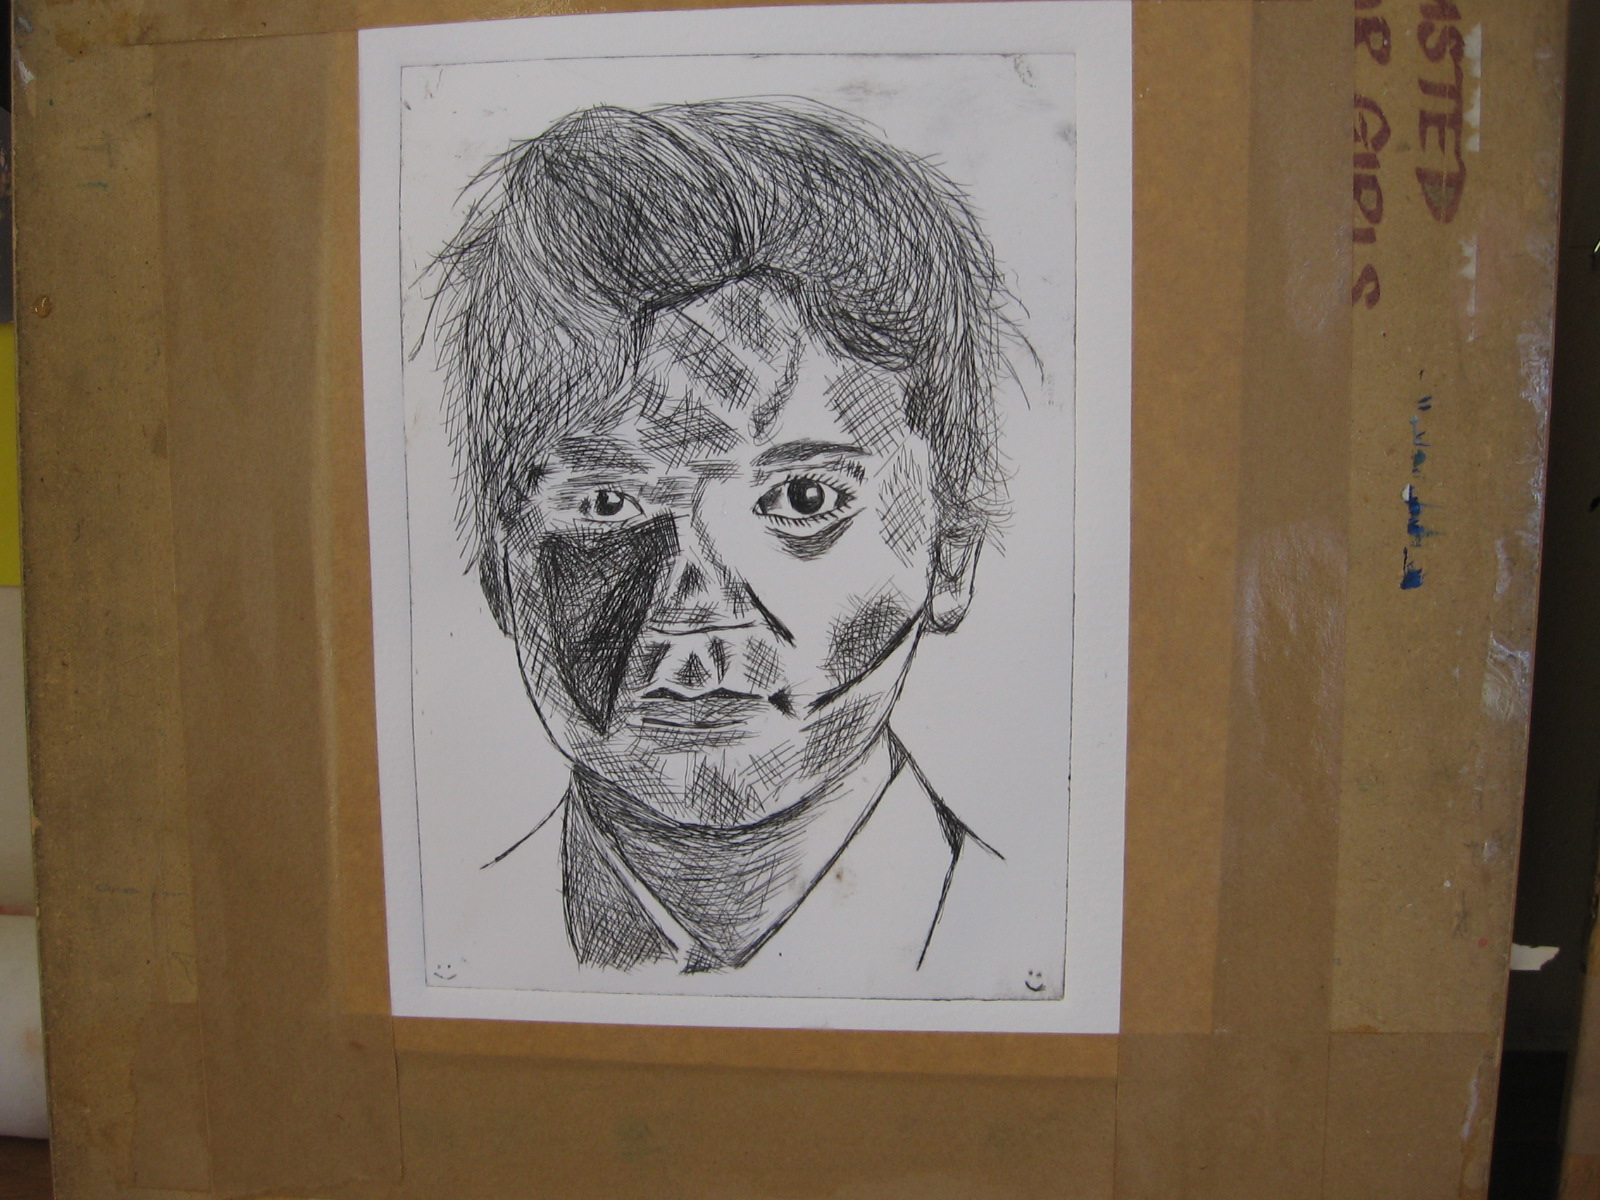
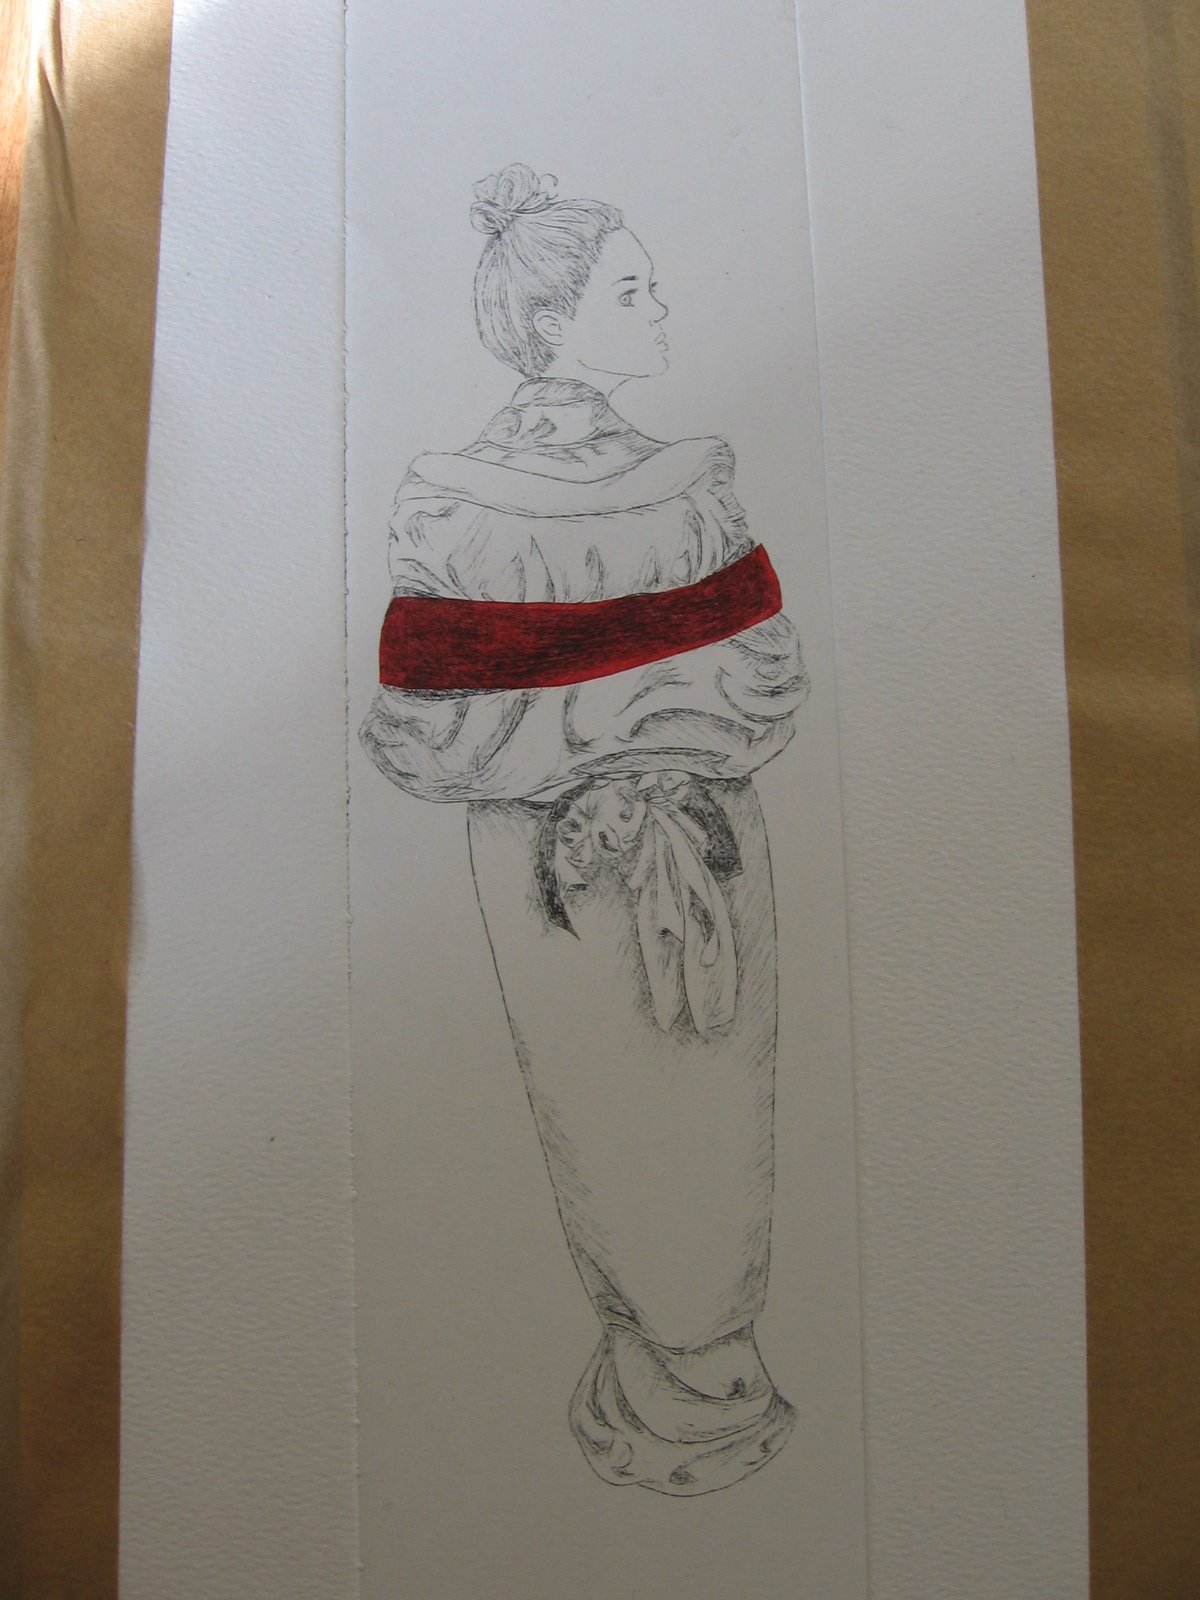
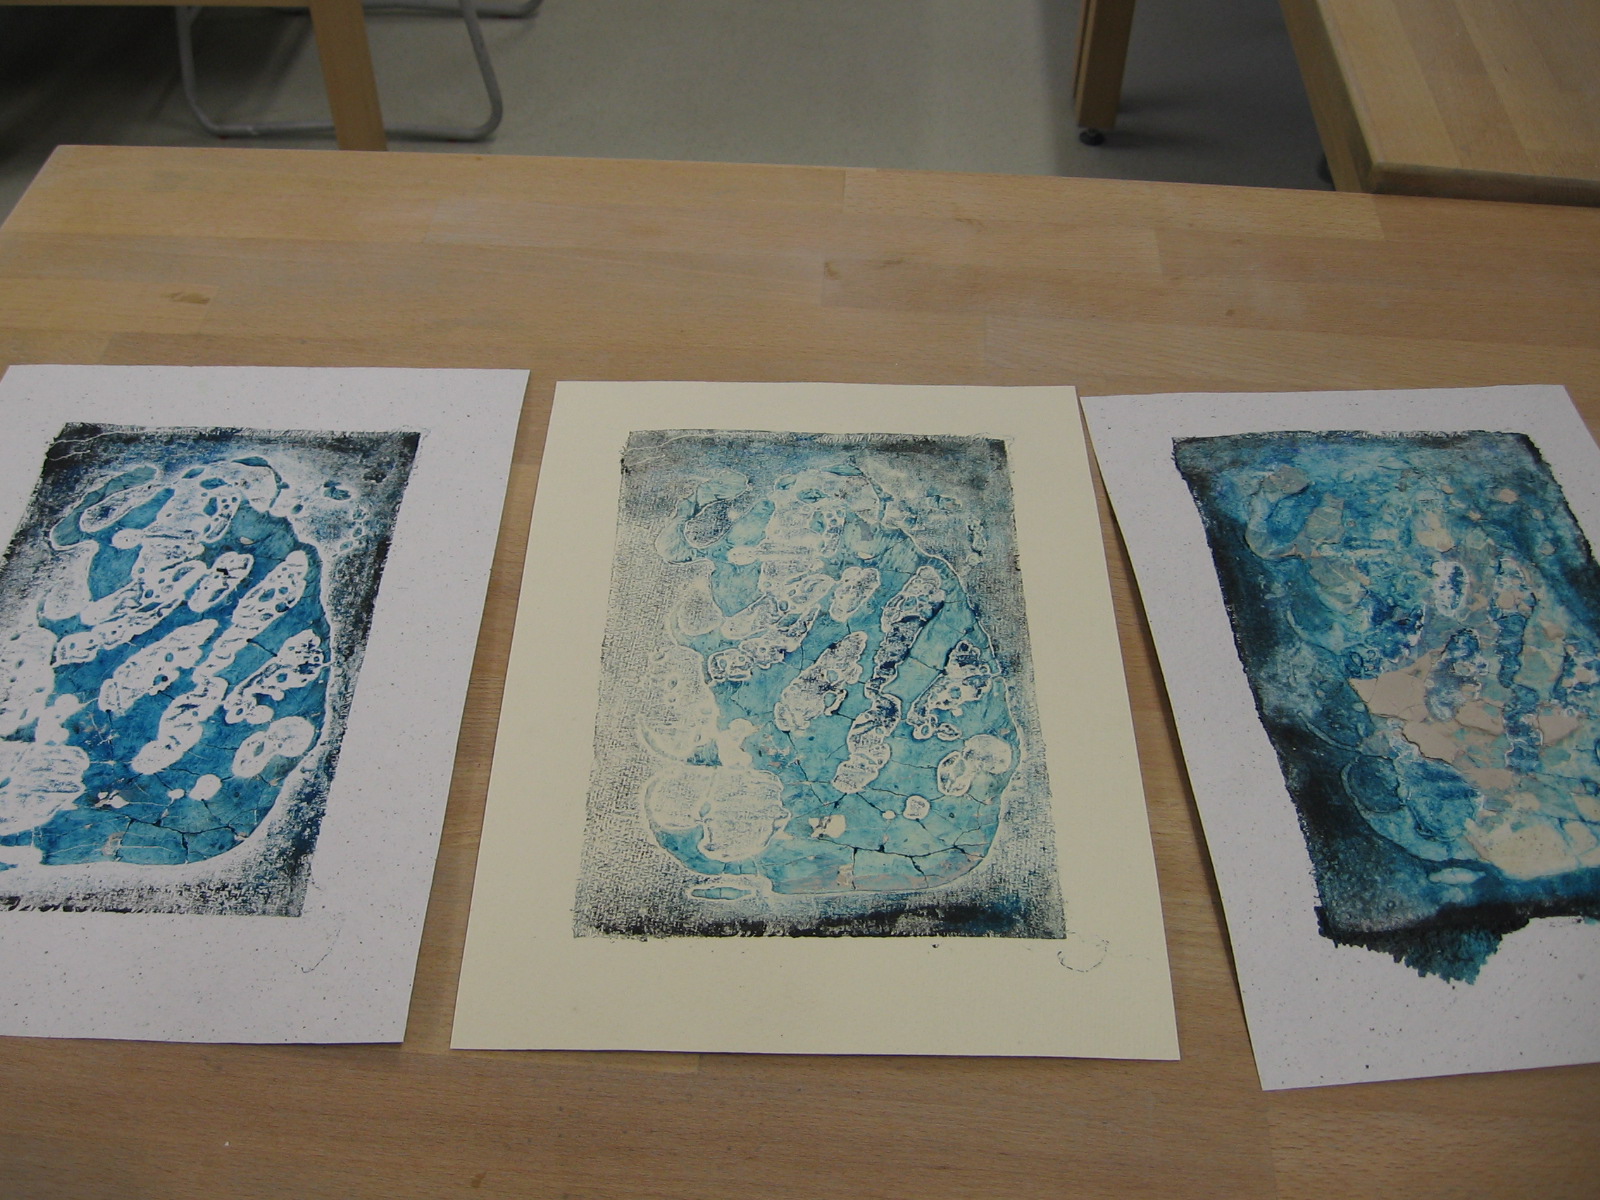
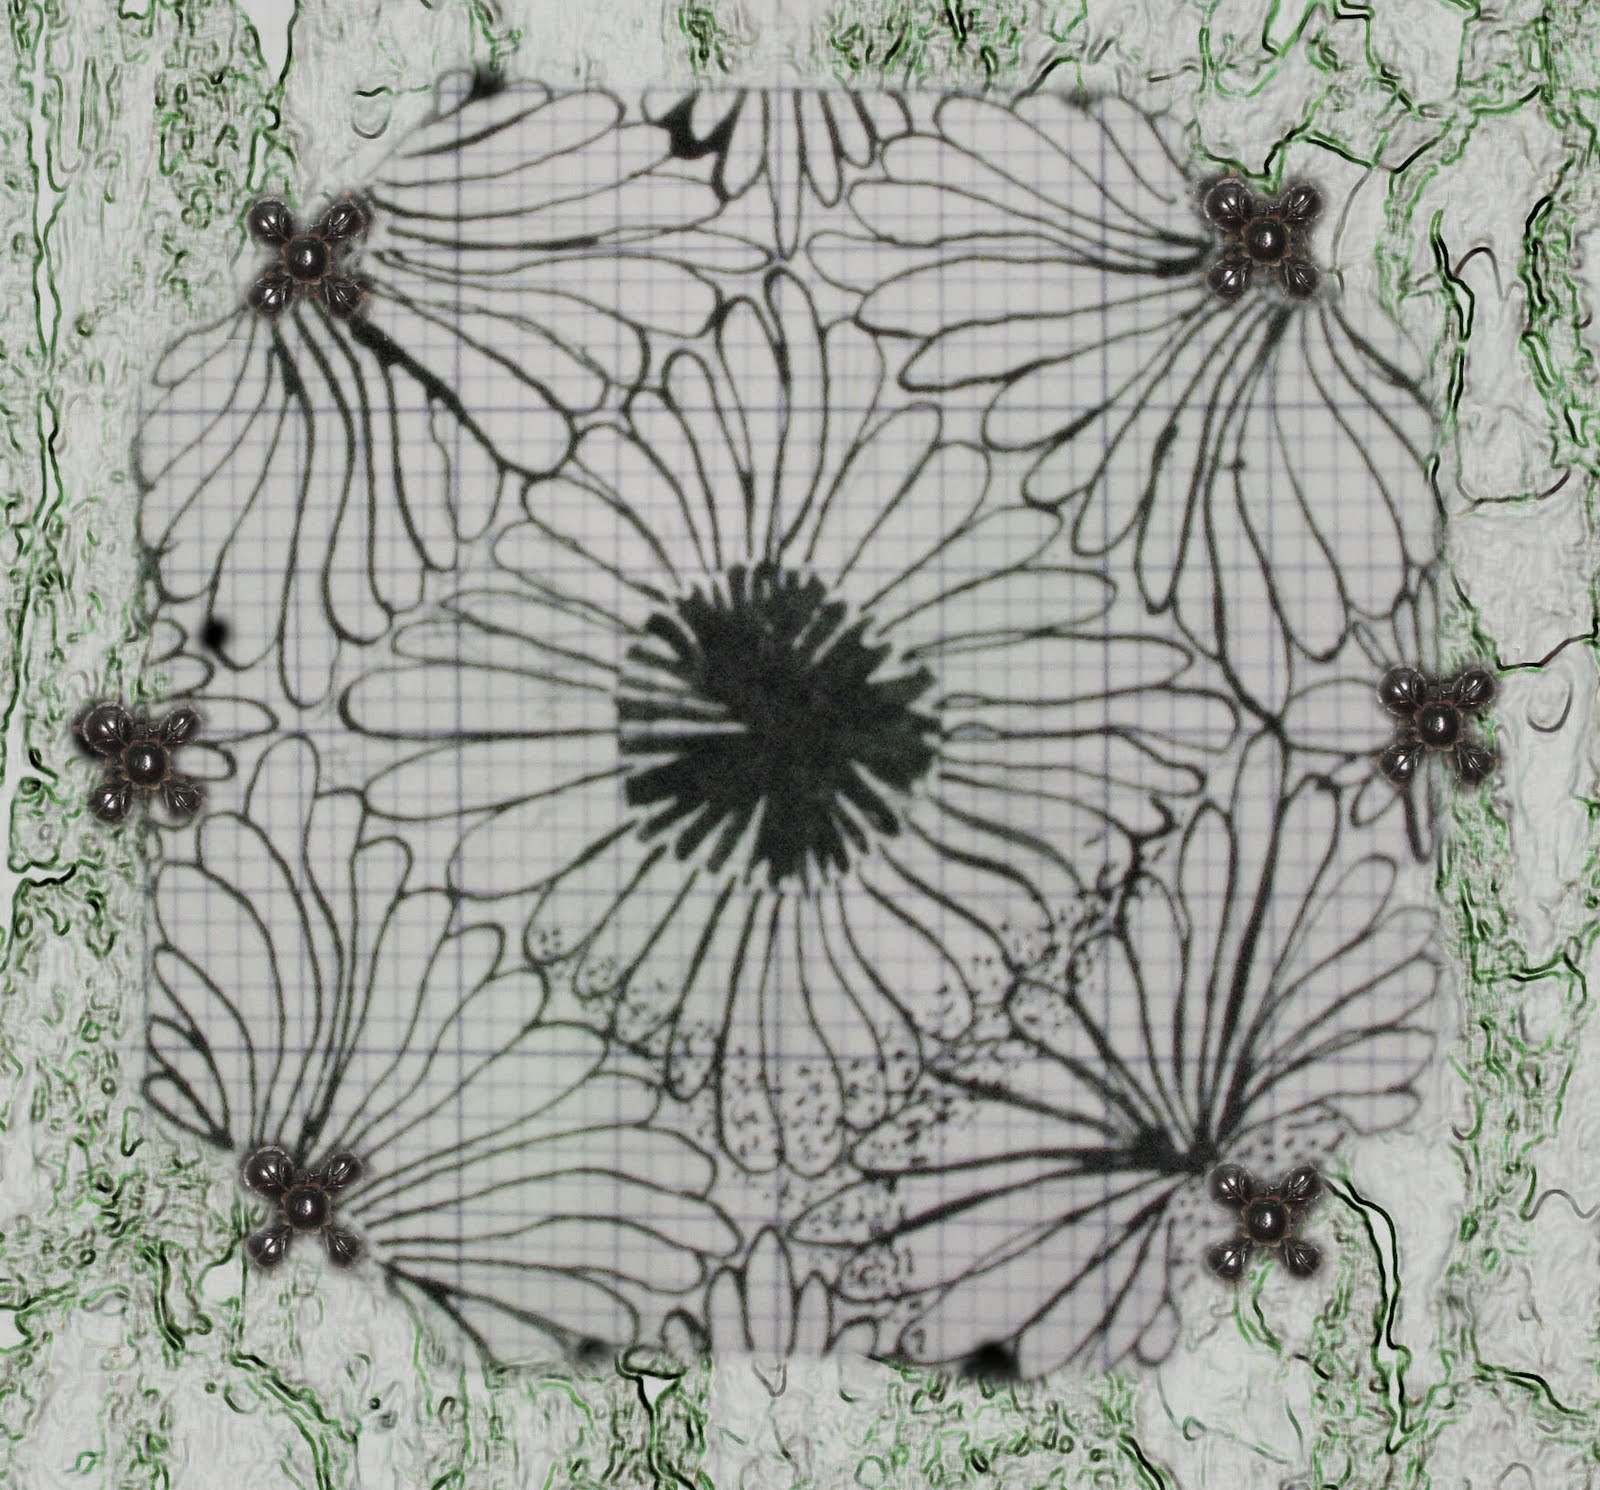
I have also been using different media, yet again to try to 'portray' the cellular creatures I am creating as follows:


Then looking at a very old photo of the chapel, photos of various xrays of shells as well as experimenting with black and white photography, I have transformed my drawings:


For now I need to finish off my 22 drawings, and then surprise.....

Saturday 20 November 2010

PAPER MAKING


The first paper mills were developed in Europe in the 11Th century and paper has been produced since using cellulose fibres such as cotton, flax or tree bark.

For my paper making courses, I tend to use cotton fibres as they are very pure and white which means that the paper produced is very durable and can be stained easily.

I have now been running a paper course at Berkhamsted School since October and on a weekly basis, as well as doing a few lunch time sessions at the girls school. The students have managed to produce some lovely paper, with glitter, grass, flower petals etc...

The process is very easy and involves using paper pulp made up of water and cellulose (or for us, cotton fibres) which are mixed together.


The fibres float freely in the water and are scooped through a sieve which has a frame providing the size and shape of the paper (this is called a deckle and frame). As soon as the water is taken away from the fibres, they just want to stick together, and form the paper. The less fibre to water ratio, the thiner the paper.


The pulp is then strained and taken off the deckle.


The wet paper is then dried with a cloth. Complete drying is then necessary so that the paper can be used.


Here are a few examples of the paper produced so far:


We have also tried to experiment with the paper as a molding material, as per following examples:


I hope this gives some enthusiasm for the girls to carry on with paper making and maybe we can get a few boys interested too!!

Friday 19 November 2010

LOTS OF PRINTS - JUST BEAUTIFUL...


This week I have been teaching and demonstrating printing techniques to year 9 girls and two sixth formers. I think most of the girls have been really excited about seeing the results and quite simply enjoyed this new process which gives immediate results.

We have kept the process simple to start with and I hope we can expend the technique in future sessions.
The process is as follows:
- soak watercolour paper in water so it is supple and does not tear with the pressure of the press's roller,
- ink the plate with scrim, then take off excess ink (clean with 'old fashion toilet paper')

Then on the press, the steps are as follows:
- put a sheet on the printing press bed to keep the bed clean
- put inked up plate on the bed (inked way up)
- put the damp paper (but free of water on the surface)over the inked up plate
- put newsprint on top to protect the printing blanket
- then finish off with the printing blanket

and hey presto, just turn the wheel and wait for the results!

Here are a few examples:


The year 13 girls' work has been pushed further, with 'chine collee' work (when a piece of coloured paper is stuck on the printing paper, and printed over) and mixing of colours. The results are really beautiful and the girls should be proud of their efforts as these were their first prints ever.


Sunday 14 November 2010

MORE WORK, BETTER IDEAS

This last week was full on: lots of interaction with students through a school trip and a number of demonstrations with paper making club, ceramic classes and one to one help as well as focusing on my own work. I am now working within a good range of medium: drawing, photography (camera less at the moment) as well as digital work, ceramics. Here are some exmaples of the work:

Recording of porcelain 'creatures' on cyanotype (blue print) paper:


Paper not yet fixed:


Fixed Images:


I am now having difficulties with creating these images as the sunlight is really weak - weather watching is of this essence at the moment!

I have also managed to do some printing and discovered that the school's printing press allows me to produce more than one image before the auto destruction of my printing plate. In previous years, my plates were always ruined after only one print, making my process extremely time consuming as I would have to produce a vast number of printing plates. This is a significant step forward and should help my experimentation process much more efficient!

Print trials to see how the printing press will affect my printing plates:


Further printing trials using masking technique with quick paper cuts:


Digital work:

Starting from drawings:


Transforming the drawing in Adobe Photoshop:


Transforming background texture in Adobe Photoshop from original photograph of tree bark:


Creating a composite picture using drawing, photograph of flowers on chapel pews on bark background:


Although these are trials, I will now have to go through a selection process and analyse what is working and what is not following my own personal criteria (which will be different for every artist you meet!)