Just before Christmas, I was very privileged to go on a two day dry point printing course at Boden Press in Chesham. What is drypoint printing: It's a form of engraving done with a drypoint tool. This creates a burr which is filled with ink and transferred onto paper when put through a printing press. This is what we have been practicing at school with the girls (as previous entries) using acrylic plates. The draw back with drypoint is that the burr is not extremely long lasting and will probably only provide 10 to 20 prints maximum. However, I like it as it does not involve any kind of chemicals and is a fairly quick process which can help achieve some very good results.
The course at Boden was divided in two days, the first day to prepare a printing plate using manual and electrical tools and the second to print it. I came armed with an image, one I have been working on for my personal project which I enlarged for the purpose of the course.

We first had some practice on a aluminum plate using a drypoint with a metal tip and a diamond drypoint. The latter enables cuts into the metal (or acrylic) much more neatly:

Then went on using the Dremel:
You can also add some more marks with any other implements, such as sandpaper.
What is a Dremel? Well it looks like a dentist's drill, but basically, with dry point printing it is used as a mark making tool. It has different size and shaped 'heads' that you change depending on the mark you want to make. This allows faster creation of shallow or deep grooves as thick or thin as you want them depending on what you are trying to achieve. I needed to practice on a small piece of acrylic to get to know how the tool works.

Some puritans of drypoint will tell you that manual work is best and that the mechanical marks of the dremel will spoil the work. I personally feel it is a really good time saving piece of equipment and there is no reason why you cannot mix working by hand as well as with the dremel as I did with my own plate:


I created a second plate to add colour to the print (used as a monoprint to transfer the colour onto the drypoint print). The plate had to be the same size as the dry point plate and the print requires to be put in twice under the printing press: once to do the dry point print then a second time to add the colour. Here is my second plate:

So, after tracing with the various tool, both my plates were ready and the result in shown below.


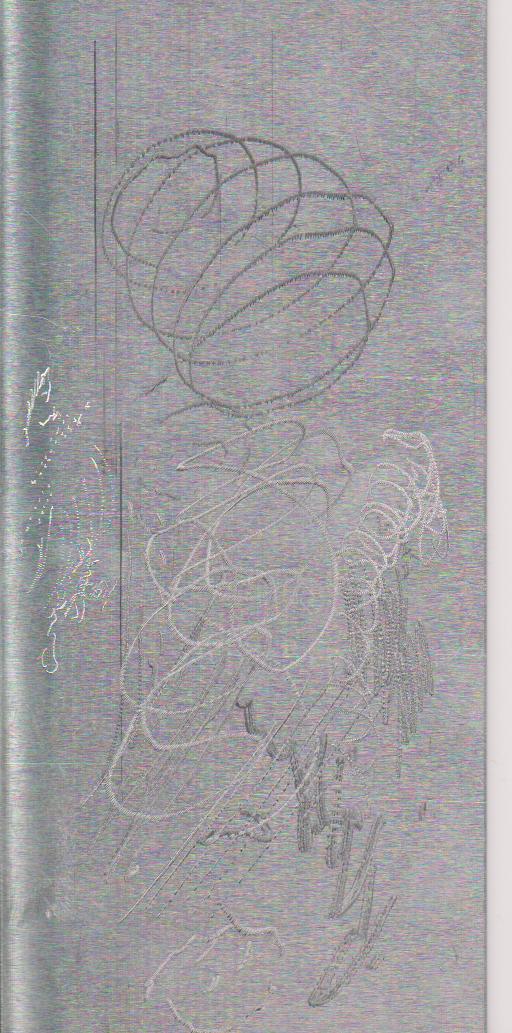
Here are some details of the lines, which are far from perfect:


And the finished print with colour and drypoint:

Though I am very pleased with the finished article, the enlarging of the original image has not made the finished product any better. However, as I always say, it's always nice to have different samples of size and colour because then you can make an informed decision on what works best!! And don't forget when you do printing, you need to remember that the image is a reverse of the original so if that matters to you, work from a reversed image so that your print is the correct way!!
GOOD LUCK!
No comments:
Post a Comment