Sunday, 16 January 2011

MOCK GCSEs - VERY IMPRESSIVE

I am not often impressed but when it comes to organisational skills and sheer hard work, I was extremely taken about by how the Girls at Berkhamsted School worked on their Art GCSE mock exams. I was very privileged to be invigilating last Monday and Tuesday for a 10 our exam, split into two sessions of six and four hours.

The girls all arrived on time, with all their equipment, and got on with their work at the speed of light. The two classrooms were filled with an ambient buzz which I have rarely experienced, even at University! The girls (together with the teaching staff) should be very proud of their efforts, I hope their marks will reflect this.

At the end of the first session, I took a few quick snapshots:


Here are some of the finished pieces at the end of two days of hard graft, starting by 3D:


A bit of glam with sequence:


A number of paintings, all very different in colours, style and structure:


Some mixed media works, all very textural:


Some very high quality printing:


and finally some pastel work:


For me one of the most successful and hard working student, amongst many, was Amee Boggins who created a scaled up book on nature. She started from scratch by making monoprints images and paintings. She then built the book, page by page, and then used book binding techniques to put it together. I have not often seen such determination and control. Amee should be extremely pround of her finished piece.


Friday, 7 January 2011

BEAUTIFAUL WINTER

I just had to share the beauty of winter with you. For me inspiration is everywhere and frozen landscapes are a perfection as long as I wear thermal underwear.

Here are a few images taken in my home village in Burgundy, France:


DREMEL OR NO DREMEL, THIS IS THE QUESTION

HAPPY NEW YEAR to anyone following me on my blog!! After this winter break I need to update what I have been up to so,here it goes.

Just before Christmas, I was very privileged to go on a two day dry point printing course at Boden Press in Chesham. What is drypoint printing: It's a form of engraving done with a drypoint tool. This creates a burr which is filled with ink and transferred onto paper when put through a printing press. This is what we have been practicing at school with the girls (as previous entries) using acrylic plates. The draw back with drypoint is that the burr is not extremely long lasting and will probably only provide 10 to 20 prints maximum. However, I like it as it does not involve any kind of chemicals and is a fairly quick process which can help achieve some very good results.

The course at Boden was divided in two days, the first day to prepare a printing plate using manual and electrical tools and the second to print it. I came armed with an image, one I have been working on for my personal project which I enlarged for the purpose of the course.


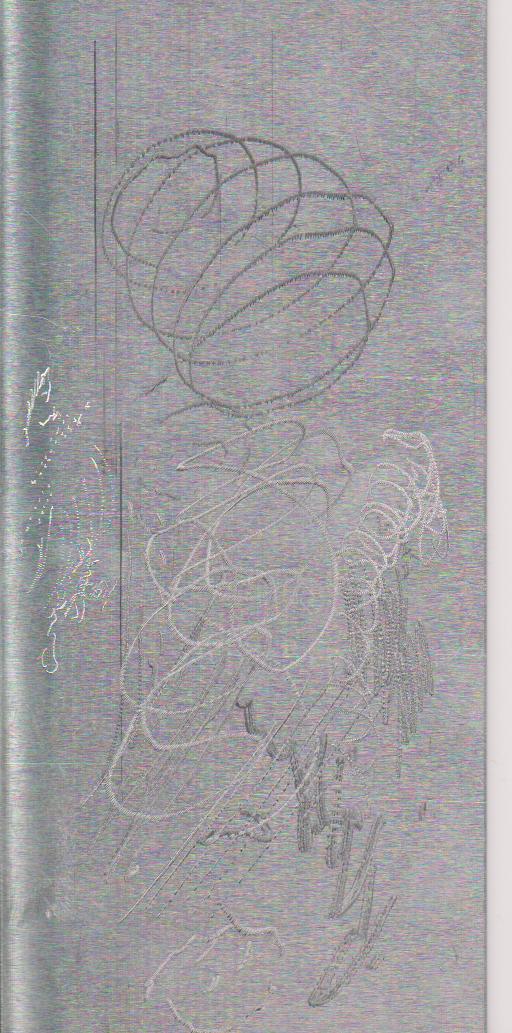
We first had some practice on a aluminum plate using a drypoint with a metal tip and a diamond drypoint. The latter enables cuts into the metal (or acrylic) much more neatly:


Then went on using the Dremel:


You can also add some more marks with any other implements, such as sandpaper.

What is a Dremel? Well it looks like a dentist's drill, but basically, with dry point printing it is used as a mark making tool. It has different size and shaped 'heads' that you change depending on the mark you want to make. This allows faster creation of shallow or deep grooves as thick or thin as you want them depending on what you are trying to achieve. I needed to practice on a small piece of acrylic to get to know how the tool works.


Some puritans of drypoint will tell you that manual work is best and that the mechanical marks of the dremel will spoil the work. I personally feel it is a really good time saving piece of equipment and there is no reason why you cannot mix working by hand as well as with the dremel as I did with my own plate:


I created a second plate to add colour to the print (used as a monoprint to transfer the colour onto the drypoint print). The plate had to be the same size as the dry point plate and the print requires to be put in twice under the printing press: once to do the dry point print then a second time to add the colour. Here is my second plate:


So, after tracing with the various tool, both my plates were ready and the result in shown below.


Here are some details of the lines, which are far from perfect:


And the finished print with colour and drypoint:


Though I am very pleased with the finished article, the enlarging of the original image has not made the finished product any better. However, as I always say, it's always nice to have different samples of size and colour because then you can make an informed decision on what works best!! And don't forget when you do printing, you need to remember that the image is a reverse of the original so if that matters to you, work from a reversed image so that your print is the correct way!!

GOOD LUCK!

Monday, 13 December 2010

A MORNING WITH WILLIAM MORRIS (1834-96)


Weeks ago, I booked a day trip to London to go to the William Morris Society at the Kelmscott House Museum in Hammersmith. I was so excited on Saturday that I got there far too early so took the time to look at the view of rowers on the Thames and took photos of the scenery.


The visit had been organised by Lucy Brett,an artist-printmaker I met at the Kew printing studios a little while ago. We were a small group and the curator of the William Morris Society, Helen Elletson kindly showed us around the basement of the house. This is the only part of the house which can be visited as the Society cannot maintain the main part of the house, which is leased.


Helen showed us some samples of Morris and Company wallpapers, watercolour designs, and a selection of textiles, ranging from a Hammersmith rug and woven hangings to printed cottons, silks and embroideries and it was a treat to see them, still looking so fresh and lively. We were also able to see a copy of his book The Chaucer. The book was completed shortly before he died and one of the proofing presses used in its printing is now on permanent display at Kelmscott.


For me, it was a joy to see original drawings by Morris and his talented family and to learn a little more about such an important Victorian designer and craftsman. It is interesting to know that he was founder of the Society for the Protection of Ancient buildings in 1877 (created to counteract the highly destructive 'restoration' of medieval buildings being practised by many Victorian architects).

Though the visit was not very long, it was worth it, and I would recommend you take a detour in this beautiful part of London and discover Morris and the other artists who once lived in the vicinity such as Eric Ravilious and Thomas James Cobden Sanderson.


Monday, 6 December 2010

SLOW PROGRESS FOR ME


My work is a little slow at the moment but I have to do a lot more research each time I prepare a drawing. The drawings now measure 16x16cm comparing to the smaller format I was working with before (8x8cm). I have another 9 to transfer from a small format onto a 16x16. Then they all need inking up and then I can move on. I fear that won't be until January now, which is frustrating as I work to my own tight schedule and by now, I was hoping I would have more done. Non the less, I am making progress so it is still very positive.


AND YES, MORE PRINTS AND MORE FAB WORK FROM THE GIRLS!!


Just wanted to share with the community some more photos of coloured prints that were created today by year 9 girls. They are really getting the hang of this process which can be messy, but with patience and good practice, excellent results can be produced.

Here are some of the lovely results: